How to Stream on YouTube with OBS
If you're new to the streaming game, it can be overwhelming to understand all the intricacies of streaming before you even begin. There's a lot of prep work to do, including installing the right software and having the right gear.
So today, we're breaking down how to live stream on YouTube with OBS, some tips and tricks to streaming, the best OBS settings, and more!
- 1. Can OBS Stream to YouTube?
- 2. How to Stream on YouTube with OBS?
- 3. How to Schedule a Live Stream on YouTube with OBS?
- 4. Best OBS Settings for YouTube Streaming
- 5. Recommended Streaming Tips for YouTube Live Streams
- 6. How to Stream on YouTube without OBS?
- 7. Bonus: One-Stop Screen Mirroring Tool - AirDroid Cast
- 8. Wrapping Up
1. Can OBS Stream to YouTube?
OBS is a broadcasting software that's open-source and free to use and can stream to YouTube and several other platforms, including Twitch, Kick, Facebook Live, and more. It helps you manage your stream by allowing you to capture and broadcast your desktop screen, game footage, audio, images, and much more. It allows several sources, plentiful customizable settings, manages your overlays and stream elements, and more.

1.1 Prerequisites for YouTube Streaming with OBS
Before you start streaming on YouTube, your PC should be powerful enough to handle all the intensive programs you'll be live streaming with. This includes your webcam/audio equipment, OBS software, programs you're streaming from (games, editing software), etc.
In general, your PC should at least have these specs:
- CPU: Quad-Core CPU
- RAM: At least 8GB
- GPU: Dedicated Graphics Card (e.g., NVIDIA GeForce GTX 650/AMD Radeon 6000)
There are a few more things you'll need before you start streaming on YouTube. The most obvious one would be a Google account and a YouTube channel so you're ready to stream once you've set up OBS.
Lastly, there are a few peripherals that can enhance your stream quality:
- Webcam: A dedicated streaming webcam can elevate your stream's visuals greatly.
- Microphone: A microphone will help audio sound crisper, clearer, and well-balanced.
- Lighting: While lighting might not be the most important thing to start with, it can drastically alter your streams.
1.2 Do You Need OBS to Stream on YouTube?
No, OBS software isn't necessary to start streaming on YouTube, but it's ideal to use OBS software to manage your streams. Theoretically, all you really need is a camera to start live streaming.
But that isn't going to make your content very entertaining. OBS allows you to do much more than just a single-cam stream. You can add various stream elements and designs, add multiple sources from audio to video to your apps/games, and more.
In short, it makes it much easier to manage your stream while enhancing overall quality with more scenes than a single camera setup.
2. How to Stream on YouTube with OBS?
Here are the detailed steps to stream YouTube via OBS:
Phase 1. Verify Your YouTube Channel to Start Streaming
Before you can stream, your YouTube channel needs to be verified. To do this, open YouTube on your PC. Then follow these steps:
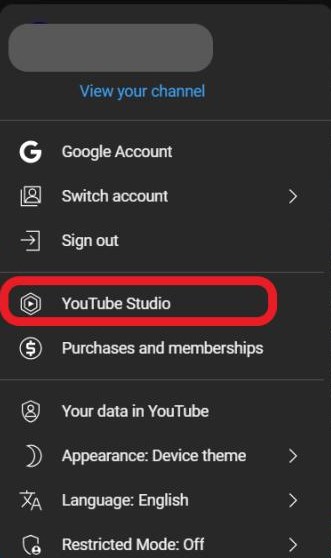
- Step 1.Select your profile in the top-right corner of the page.
- Step 2.Select 'YouTube Studio'.
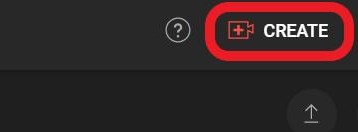
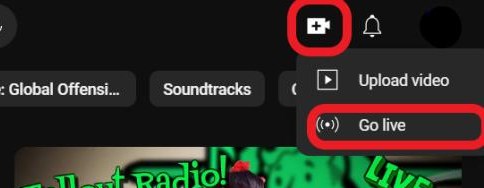
- Step 3.On the YouTube Studio page, select the 'CREATE' icon in the top-right corner.
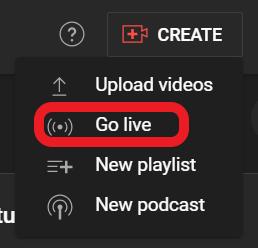
- Step 4.Select 'Go Live'.
- Step 5.You'll see a prompt asking you to verify your account before you can go live. Start the verification process.
- Step 6.Add your phone number and enter the code as prompted.
- Step 7.You have to wait up to 24 hours for your account to be verified, after which you can start streaming.
Phase 2. Download and Install OBS
Next, go to the OBS site and download the software. Then, run the install file and complete the initial setup. It should look like the above picture once everything's done.
Phase 3. Connect Your YouTube Account to OBS
Open your YouTube channel and go to YouTube Studio. You'll need access to your channel's stream key, which will link your stream to OBS.
Step 1. On your YouTube channel, select 'CREATE' and then 'Go Live'.
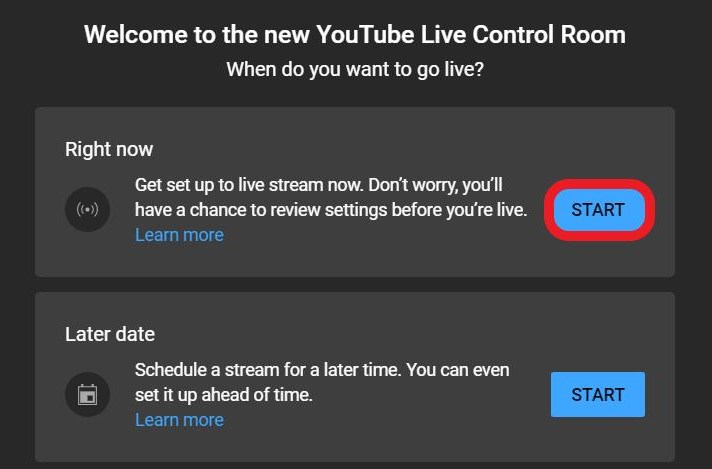
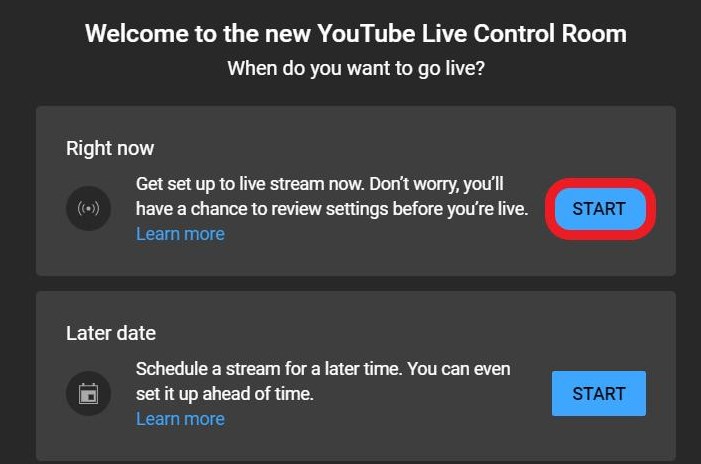
Step 2. Select 'Right Now' on the 'When do you want to go live?' prompt.
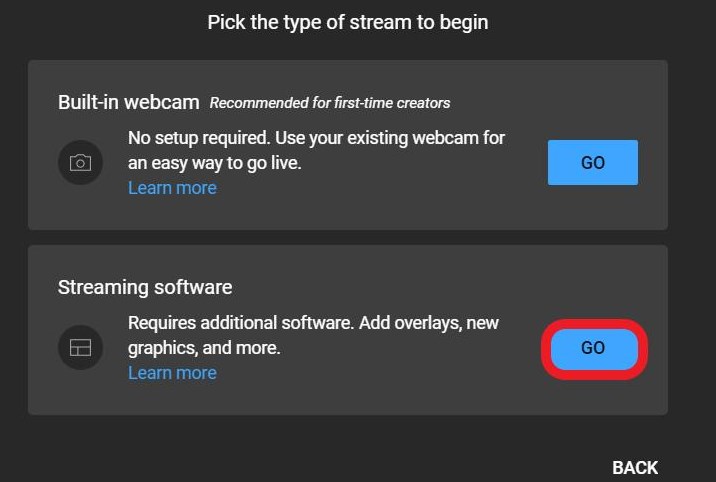
Step 3. Select 'Streaming Software' and click on 'Go'.
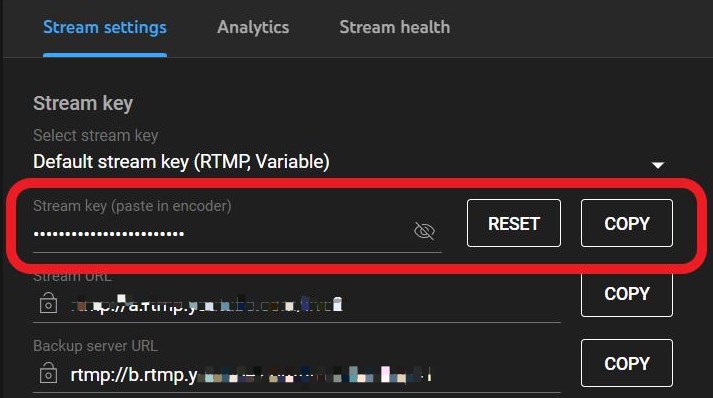
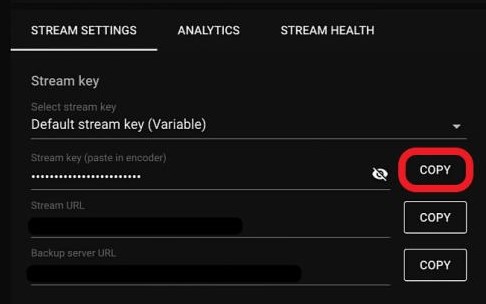
Step 4. Under the 'Stream Settings' tab, find the 'Stream key' option and click on Copy.
Step 5. Open OBS on your computer.
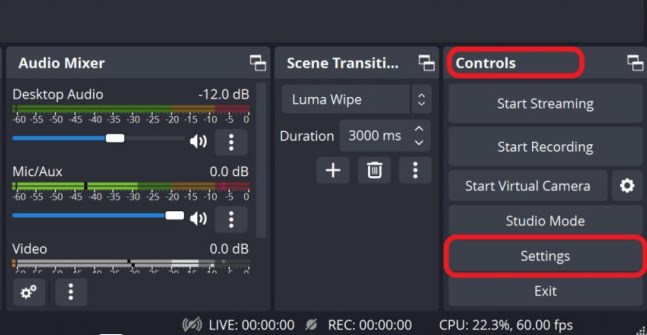
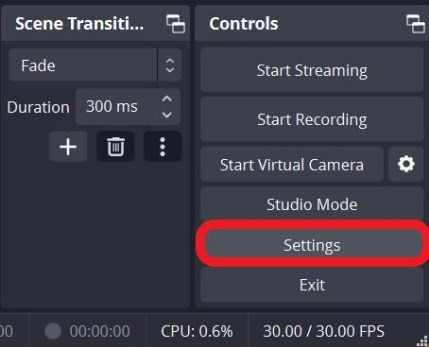
Step 6. Open 'Settings' located in the 'Controls' tab in the bottom-right corner of the page.
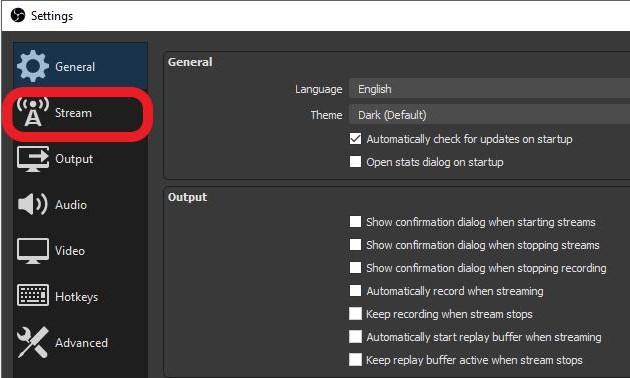
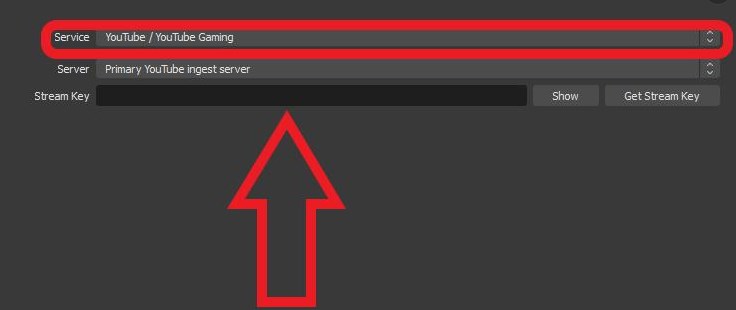
Step 7. Select 'Stream'.
Step 8. Change the 'Service' option to YouTube. Paste your stream key into the 'Stream Key' text field and click Apply.
Phase 4. Add Scenes and Sources
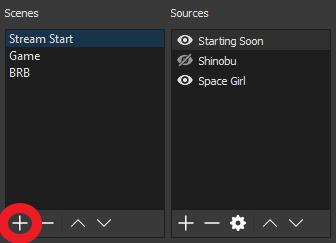
Step 1. Find 'Scenes' in the bottom-left corner of OBS and select the '+' icon. Name the scene and select 'OK'.
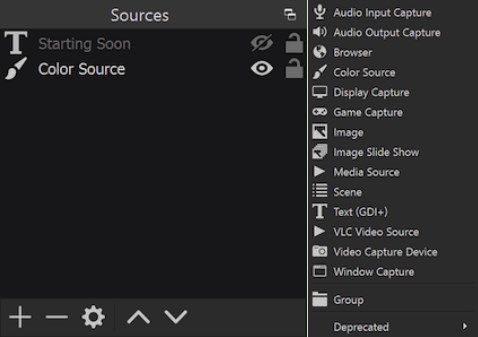
Step 2. Find the 'Source' tab in the bottom left-hand corner and select the '+' icon. Select the type of source you're using, such as your browser window, display capture, an image, video capture device, etc.
Phase 5. Go Live!
Step 1. Open OBS with your linked YouTube stream.
Step 2. On the bottom-right corner, under 'Controls', select 'Start Streaming'.
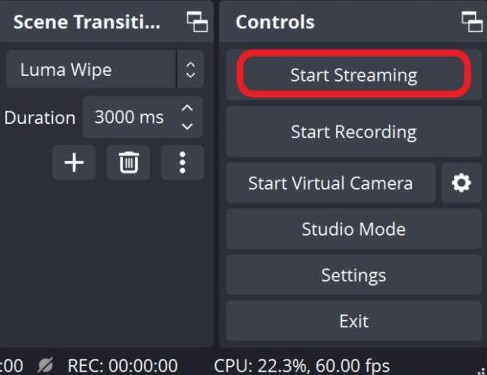
Step 3. You're now live on YouTube!
3. How to Schedule a Live Stream on YouTube with OBS?
If you want to prepare better for your streaming on YouTube and need some more time, you can schedule a live stream with OBS. Follow these steps:
Step 1. Open the YouTube Studio page.
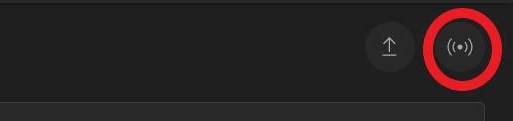
Step 2. Select the 'Go live' icon in the top-right corner.
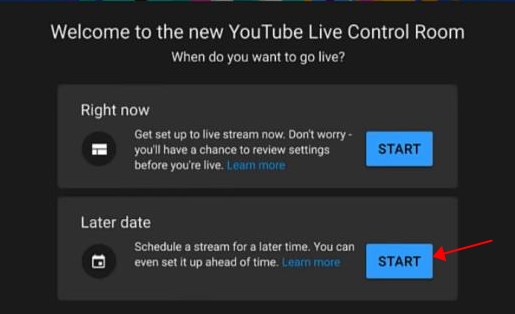
Step 3. Select 'Later date'.
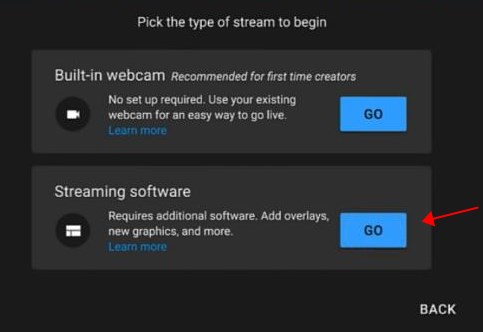
Step 4. Select 'Streaming software'.
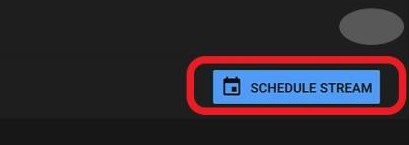
Step 5. Select 'Schedule Stream'.
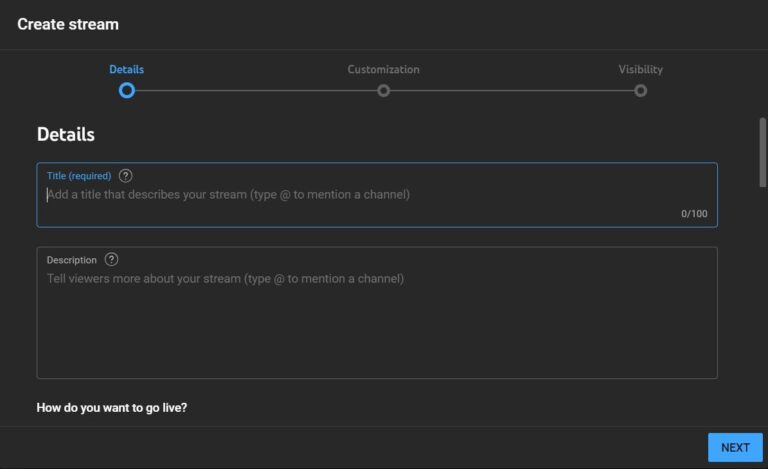
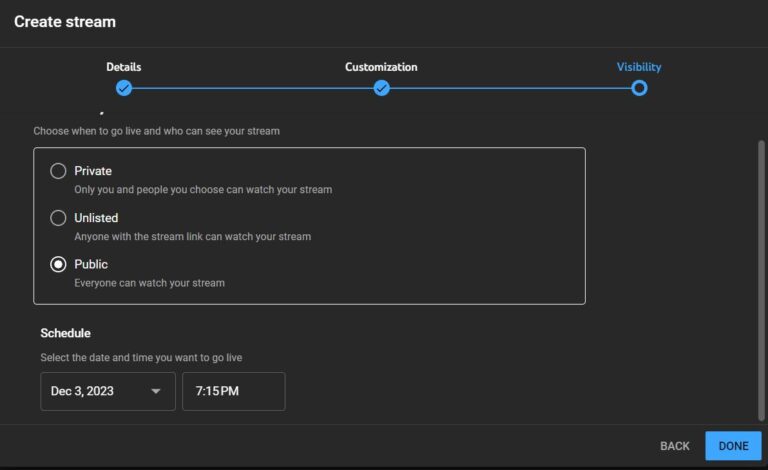
Step 6. Enter the details of your stream, including the title, description, thumbnail, audience setting, etc., and select 'Next'.
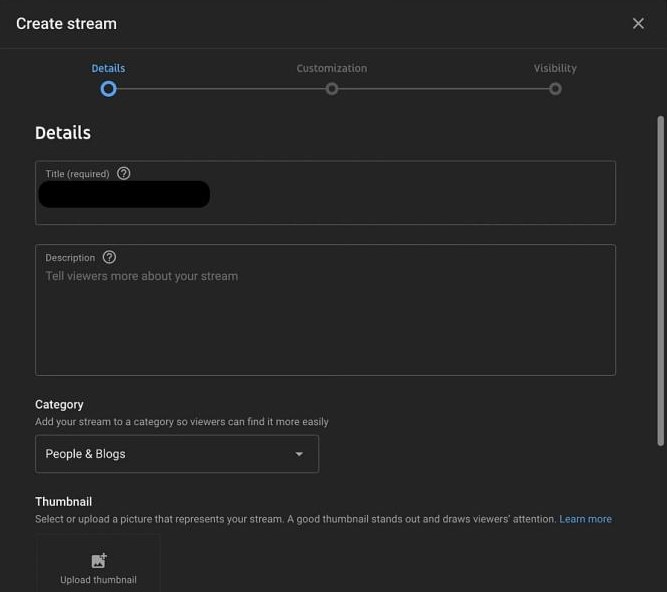
Step 7. Customize additional stream settings if required.
Step 8. Select 'Visibility' to Public and enter the date/time you'd like the stream to start.
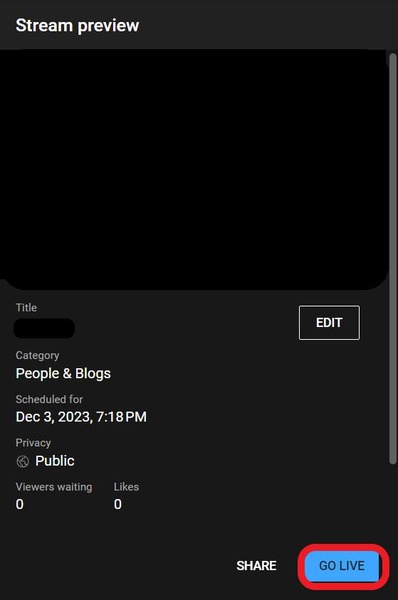
Step 9. Go to the 'Manage' page and select your scheduled stream.
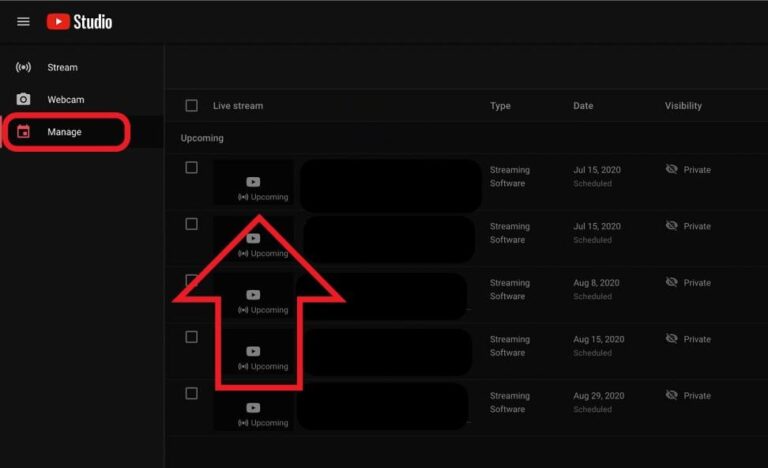
Step 10. Copy the 'Stream key' and input it into your OBS's Stream settings.
Step 11. Select 'GO LIVE' when you're ready to stream!
4. Best OBS Settings for YouTube Streaming
After setting up YouTube live streaming with OBS, you can also learn to configure some OBS settings for a better streaming experience.
Video Bitrate
Video bitrate determines the quality of video your viewers receive on their device. Even if you stream at "1080p Full HD resolution at 60FPS", your viewers won't notice a higher visual fidelity if you don't set the video bitrate accordingly.
In this case, your video bitrate should be 1,500 - 10,000 Kbps. Ideally, it should range between 2500 - 4000 Kbps.
Step 1. Open OBS, and select 'Settings' under the 'Controls' tab.
Step 2. Select 'Output', then change 'Video Bitrate' to 4000 Kbps.

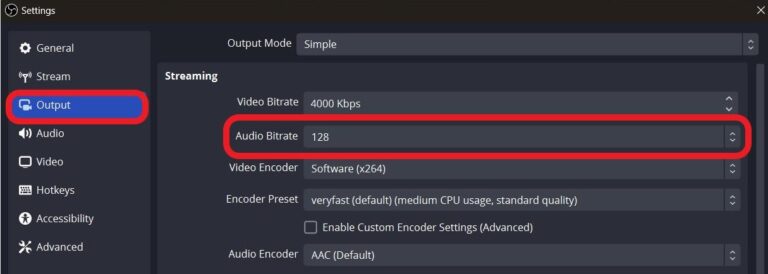
Audio Bitrate
Audio bitrate is similar to video bitrate and determines the sound quality your viewers hear. In most cases, 128 Kbps is the best overall setting.
Go to 'Settings' under the 'Controls' tab, select 'Output', then change 'Audio Bitrate' to 128.
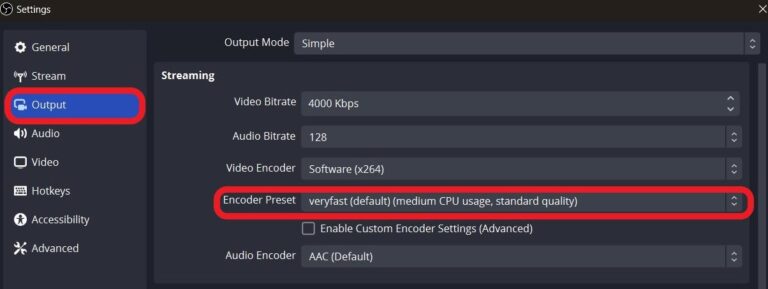
Encoder Preset
Encoder preset determines how much the encoder uses your CPU and what video quality it outputs. The ideal setting is to leave it as 'veryfast' for a balance of quality and resources required.
Go to Controls Tab > Settings > Output > Encoder Preset, and change it to 'veryfast'.
Keyframe Interval
In simple terms, the keyframe interval determines the speed viewers receive a full frame instead of changes from the previous frame. This affects picture quality, clarity, smoothness, and lag.
Step 1. Open OBS, and select 'Settings' under the 'Controls' tab.
Step 2. Select Output > Output Mode > Advanced.
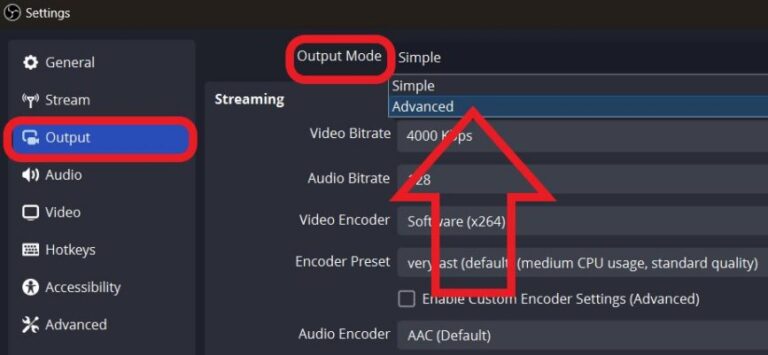
Step 3. Under the 'Streaming' tab, select 'Keyframe interval' and change it to 2s.

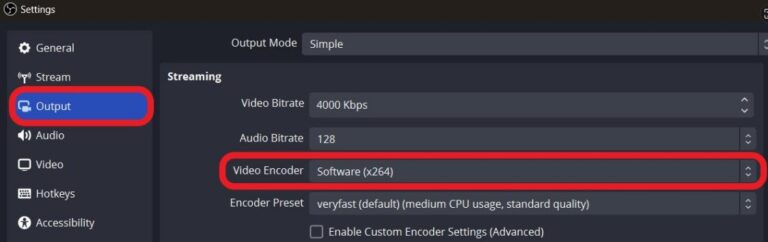
Video Encoder
Keep the default encore setting of x264. It's the ideal setting for performance and video quality.
Go to Controls Tab > Settings > Output > Video Encoder, and change it to 'Software(x264)'.
5. Recommended Streaming Tips for YouTube Live Streams
Here are some tips for live streaming on YouTube with OBS:
Properly Configure Audio & Video Bitrates
Make sure your audio and video bitrate settings are proportional to your total network's upload speed. This also includes if other people are using the same network, which can limit your bandwidth for streaming, resulting in choppy connections or lower resolution video quality.
Upgrade Streaming Gear Overtime
Streaming with a webcam is okay to begin with, but eventually, consider upgrading your gear. At the start, go for the basics, including a decent USB microphone, streaming webcam, and a small ring light. Eventually, try upgrading to a professional mic or high-end streaming webcam for better stream quality.
Prepare for a Livestream in Advance
Even if your livestream is scheduled for a certain time, don't start the broadcast just 5 minutes prior. It's recommended to get everything set up at least 2 hours beforehand. Also, run a test stream to see if everything shows up as you intended it to.
Enjoy yourself on Stream!
Streaming is tough to get into and there'll be times when you don't have a single viewer watching. It'll take time to build an audience, but if you're sincere and enjoy the content you're doing, more people will eventually regularly join your streams.
Staying active on your other socials helps, too!
6. How to Stream on YouTube without OBS?
Besides using an encoder, you can live stream on YouTube using your computer's webcam or from your smartphone/tablet camera using the YouTube app.
6.1 Go Live Stream on YouTube with Webcam
Step 1. Open YouTube, select 'Create' at the top-right corner, then choose 'Go Live'.
Step 2. Select 'Right Now'.
Step 3. Select 'Built-in Webcam'.

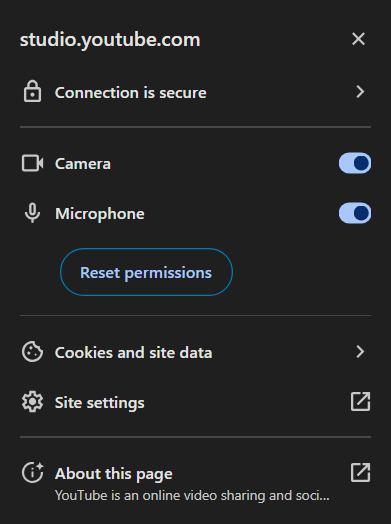
Step 4. Allow access to your Camera and Microphone.
Step 5. In the YouTube Live stream settings, enter your stream details, including 'Title', 'Description', 'Thumbnail', and 'Audience'.
Step 6. Select 'Customization' options, if any.
Step 7. Change 'Visibility' to 'Public'.
Step 8. Select 'Go Live'.
6.2 Live Streaming on YouTube on Mobile
Live streaming from mobile is only available for channels with at least 50 subscribers. This only works when you reach that subscriber count, so try using your webcam or an encoder to build an audience first.
Step 1. Open the YouTube mobile app on your smartphone/tablet.
Step 2. Select the '+' Create icon.
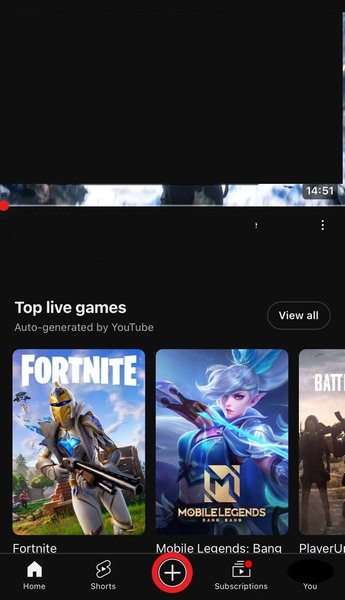
Step 3. Select 'Live'.

Step 4. Enter stream details.
Step 5. Tap on 'Go Live'.
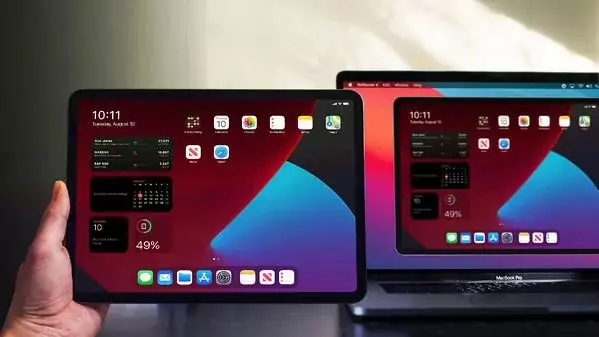
7. Bonus Tip: Share Your Device Screen to a Larger Screen
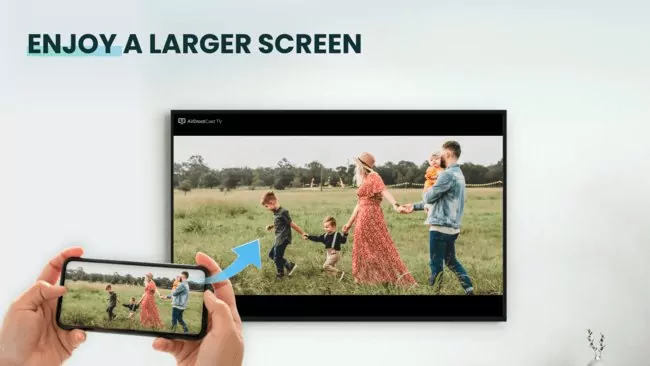
Live streaming on YouTube is a great way to foster a community, but you don't need to go live for everything you want to share. You might want to share some photos and videos with friends or mirror your screen for a presentation.
In that case, AirDroid Cast is an extremely versatile screen mirroring solution that's available on a variety of platforms, including Android, iOS, macOS, Windows, and a web platform. You can easily share your screen between any of the supported platforms freely!
8. Wrapping Up
We've reached the end of our guide and we hope you've learned everything there is to know about how to live stream on YouTube with OBS. It can take a while to get used to but as you start streaming more often, you can start building better scenes, with high-end gear to improve your stream quality.

Leave a Reply.