4 Effective Ways to Transfer Files from Android to Mac Wirelessly
In this era of software integration, we're able to migrate files and data from one operating system to another in ways that, at one point in time, were not conceivable due to inherent hardware/software limitations. If you want to know how to transfer files from Android to Mac, stick around to find out.
Part 1. How To Transfer Files from Android to Mac
There are four known methods:
- Transfer files from Android to Mac wirelessly using AirDroid Personal.
- Connect your Android device to your Mac with a USB cable and use the Android File Transfer for Mac app.
- Employ an SD card (only applicable if the mobile device has an SD card slot included).
- Upload the files to a cloud storage service such as Google Drive, OneDrive, or Dropbox.
Part 2. Which Method Works Best?
If you have an internet or Wi-Fi connection with a download rate of 20 Mbps or above, we strongly recommend using AirDroid for file transfers. AirDroid facilitates file exchange between Android and Mac in the most intuitive manner available, allowing for direct control of your phone/tablet screen and the possibility of using the Wi-Fi connection for file transfers without being online.
As for the efficiency of the other methods, it can vary depending on various factors, such as the internal specifications of each gadget, the USB cable used (whether it's the one that came with the mobile device or not), the SD card available, and the quality of your internet connection. Those who don't enjoy the benefits of high-speed internet or abide by a limited data plan may want to stick to the USB or SD card method, while people with download speeds above 20-50 Mbps should be more than content using the cloud or wireless methods. Without further ado, let's unpack the methods summarized above, starting with our pick:
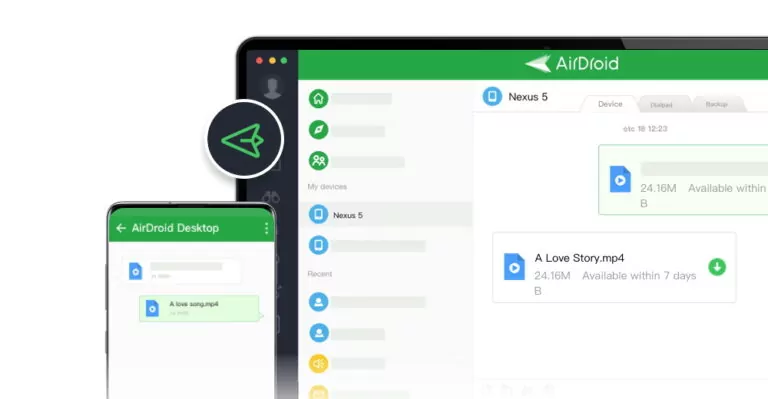
2.1 The Best Online Method: Wireless File Transfers Using AirDroid
The wireless approach is probably the greatest alternative to the USB Android File Transfer (Mac), SD card, or cloud storage methods. You may transfer files from Android to Mac wirelessly by using AirDroid Personal.
Key features of AirDroid Personal:
- The app is designed for safe, lossless, and wireless file transfer across devices.
- It allows users to mirror the Android phone for live streaming or how-to tutorial.
- Offers an intuitive way to manage all the files on an Android phone
- Allows you to receive and send mobile notifications and SMS on a PC
- Its Find Phone feature helps you locate and find a lost phone and wipe out its data remotely(via AirDroid Web).
The app works similarly to the AirDrop feature from Apple, that is, by establishing a wireless connection between devices and freely controlling the mobile device on the desktop. If you want to find out how to transfer files from Android to Mac using AirDroid, follow the steps outlined below:
Video Tutorial: How to Transfer Files from Android to Mac Wirelessly
Option 1 (using AirDroid Personal web)
The easiest method is using the QR code:
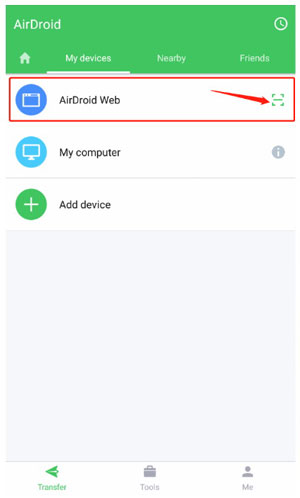
- Step 1. Install AirDroid on your mobile device and log in using your account. Then switch to Transfer to tap the "Scan QR Code" option after AirDroid Web.
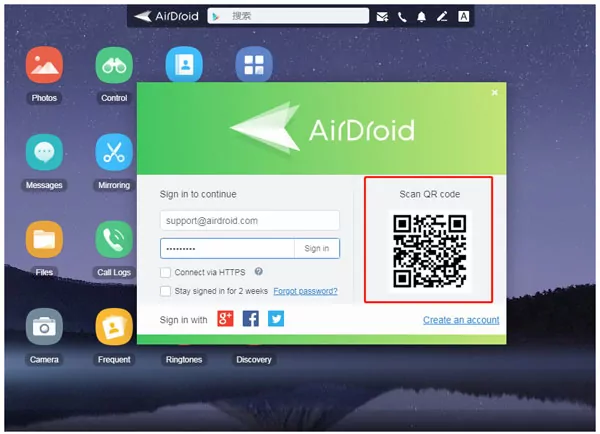
- Step 2. Go back to your Mac and open the AirDroid web app. After agreeing to the Terms of Service, you'll see the QR code on the right side of the log-in window. Scan that code using your phone or tablet and tap "Sign In".
If you use the web app for file sharing, you'll operate on AirDroid's built-in launcher, with folders easily visible on the main page to manage the files between your desktop and mobile seamlessly.
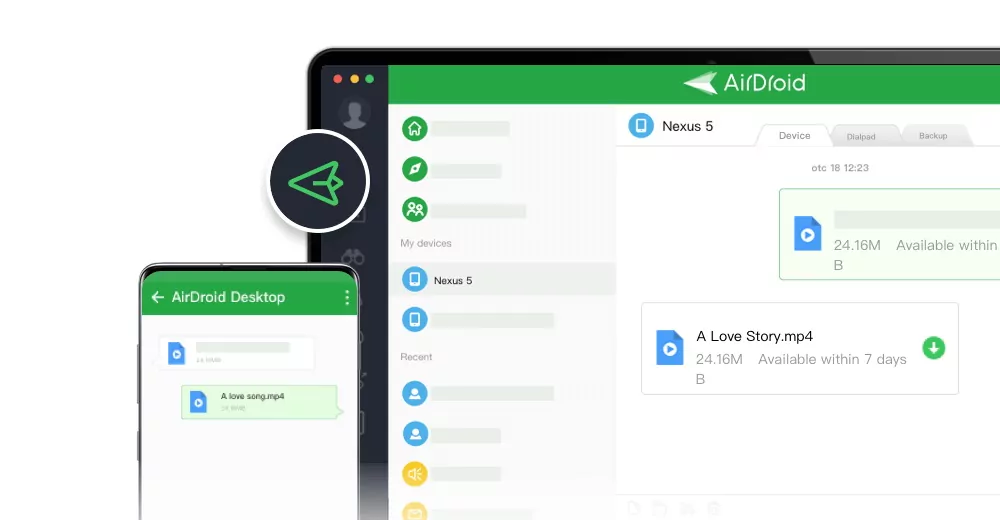
Option 2 (using the AirDroid desktop client)
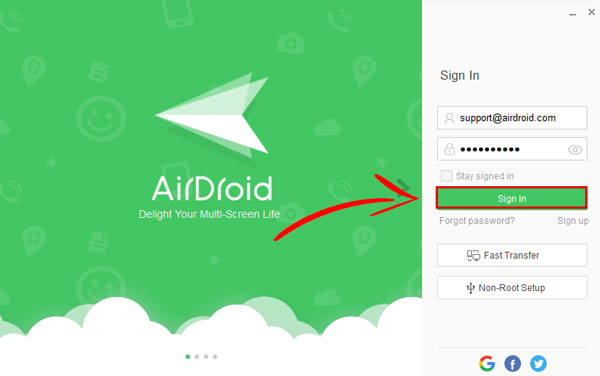
- Step 1. Install AirDroid on your mobile device and log in using your account. Go back to your Mac and download AirDroid's desktop client.
- Step 2. Launch the app and log in by using the same account as your mobile app.
- Step 3. Once in the app, you only need to find and click on your mobile device from the left-hand menu of the client (under "My devices") and drag and drop the files you want to send wirelessly.
- Step 4. Open the AirDroid app on your mobile. Next, on the connected devices' menu, choose your Mac and then tap on the image icon or the document icon (represented by a paper clip) next to the message box on the bottom-right corner of the screen, which will prompt AirDroid's native file manager from which you'll be able to select the files you wish to send.

2.2 Android File Transfer (MAC application)
The most traditional way of transferring files between devices is through a USB cable. This operates strictly with local storage and does not require internet access. However, the first time around, you must go to your Mac computer and download an app called Android File Transfer for Mac (free download link here). This action is only required once, the first time you proceed with this method, assuming you don't uninstall or remove the app afterwards.
Note: The macOS Android File Transfer app only works for OS versions 10.5 or up. After you've downloaded the app, you're supposed to follow the guides here:
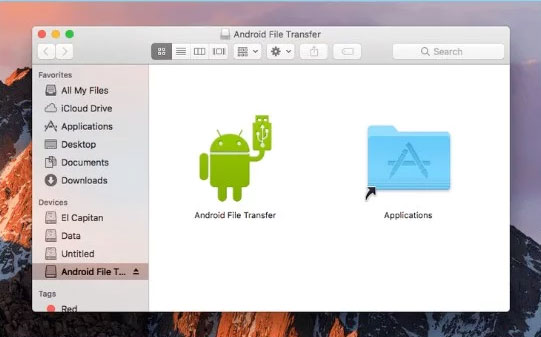
- Step 1. Open AndroidFileTransfer.dmg. Then drag and drop the Android File Transfer app in the Applications folder contained in the Finder. Open the Android File Transfer (a notification might pop up with a warning that the app was downloaded from a non-trusted source, but click Open anyways.)
- Step 2. Go ahead and connect the mobile device to the Mac by using a USB cable. Android File Transfer should open automatically (though you may need to open it at times manually).
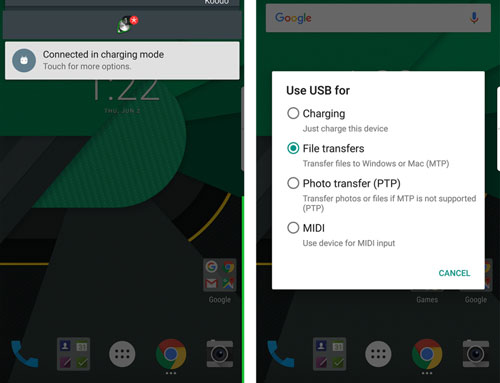
- Step 3. On the Android device, set the USB mode to "File Transfer/MTP mode". On most phones and tablets, a notification appears upon establishing a USB connection which allows you to access the USB settings page.
- Step 4. Find the files you need to transfer in the Android File Transfer app and drag and drop them to the desktop.
What are the usual problems associated with using Android File Transfer (Mac)?
Remember that Android File Transfer is not as optimized as other Windows alternatives at the moment of writing. Files will be harder to find since the app doesn't use the OS's native file explorer but a custom built-in browser with no shortcuts to the desktop folders and no file previews. Also, some devices are harder to recognize by the app than others. Of all possible error messages that may appear on the Android File Transfer for Mac, "could not connect to device" is one of the most common.
What are the possible fixes?
In these cases, the problem may reside in the USB cable (which is a very common occurrence). To make sure it's not a cable issue, check in other Windows or Mac computers to find out. Also, inspect to see if the USB drivers on your Mac are updated to the latest versions, which can be done on the Apple App Store. Finally, you may want to update your macOS to the latest version. You can easily have your Mac look for the most recent updates by clicking on the Apple logo at the top-left corner.
Choose "About This Mac" from the dropdown menu and select the "Software Update" option. Finally, your Android software should probably be updated to the latest version for better results. Nonetheless, it usually happens that Android updates come packed with bugs that could result in conflicts with other systems. Owing to Android's known fragmentation issues, it's difficult to troubleshoot problems with the OS in a broader sense, for many bugs are device-specific.
2.3 SD Card
This is a physical alternative to the USB option through Android File Transfer (Mac). Nowadays, SD card slots are included in most Android phones and tablets, and the method doesn't require additional software installation. Still, it demands an extra step: Transferring the files from the internal storage to the external. 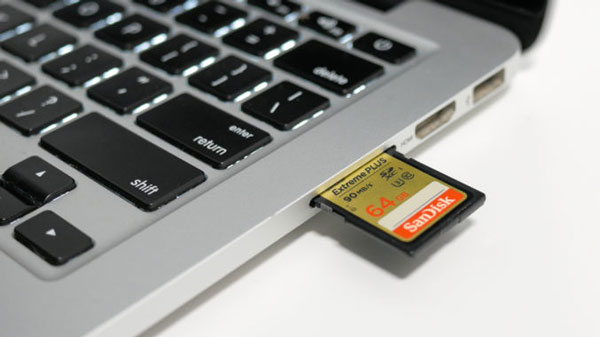
Nevertheless, the process is still pretty straightforward:
- Copy the files you want to transfer to the Mac from the internal storage to the SD card using the device's native file browser or one of your liking.
- Insert the SD card into the SD card reader and, in turn, the reader into the Mac's SD card slot.
- The Mac should be able to detect the card as a storage device, and you can then explore the files and drag and drop them into the Mac.
2.4 Cloud Storage
One of the easiest file transfer methods relies on a cloud storage provider. This consists of using an external server that stores your data and can be accessed online. Your Android phone or tablet often comes with one or two cloud storage services preinstalled and activated by default.
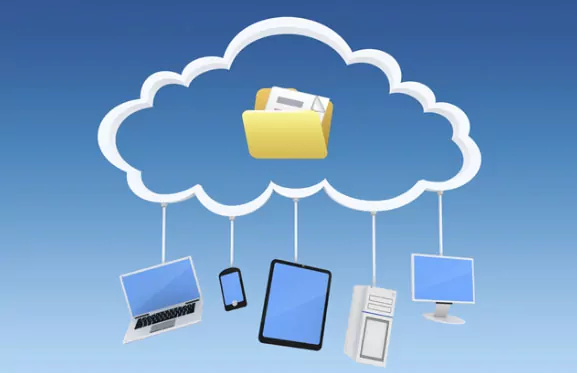
Normally, any one of the major cloud services can do the job efficiently and has enough features to get you through the process. Some examples include Dropbox, Microsoft OneDrive, Google Drive, and the Google mentioned above Drive. You can access your cloud storage through the stock Safari browser or any other browser of your preference. You can also download the desktop clients they offer for a streamlined experience. Nevertheless, the cloud solution is not devoid of setbacks. Most major providers require a monthly or yearly fee for expanded storage space, and it's very easy to fill the quota they grant to free users, especially for people who store hefty files daily or weekly.
Part 3. Conclusion
Hopefully, this guide will prove useful in helping you ascertain the best method for transferring files from Android to Mac, whether by using a physical USB cable, an SD card, through a cloud service provider, or employing applications like AirDroid. In our view, the latter of these four is one of the greatest choices when considering the usual drawbacks you get with the other three, such as reaching the full capacity of the cloud storage or not being able to cope with the bugs plaguing Android File Transfer (PC / Mac versions alike).


Leave a Reply.